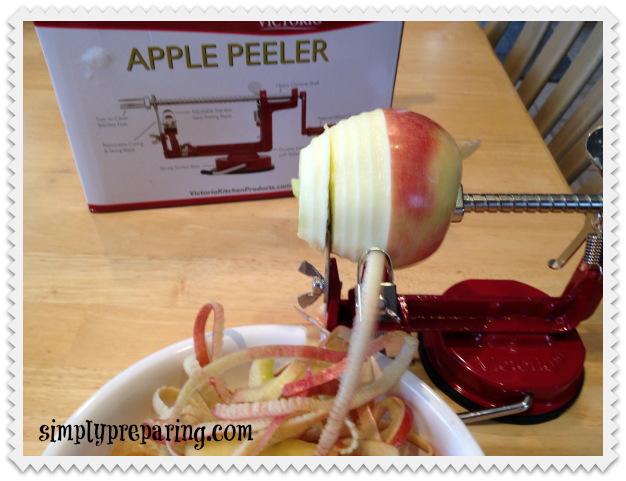
Dehydrating food is a skill that all preppers should master and dehydrated apples are probably the easiest food to learn with. But I would be seriously remiss in letting anyone think that I store dehydrated apples as long term food storage in this house. Truth is, the second my kids see this bag on the counter they will be gone. The work involved used to make the fact that they would disappear faster than I could peel them discouraging and then I bought an apple peeler/corer/slicer. It cut my prep time down into a ridiculous 20 mins for a 5 lb bag to be opened and the nesco trays running. Now, that is a time I can deal with for making a healthy snack! If you don’t have teenage boys roaming your home, this makes an excellent long term food storage option. Especially when you get apples on sale in the fall.
I used a combination of Fuji and Gala this round.
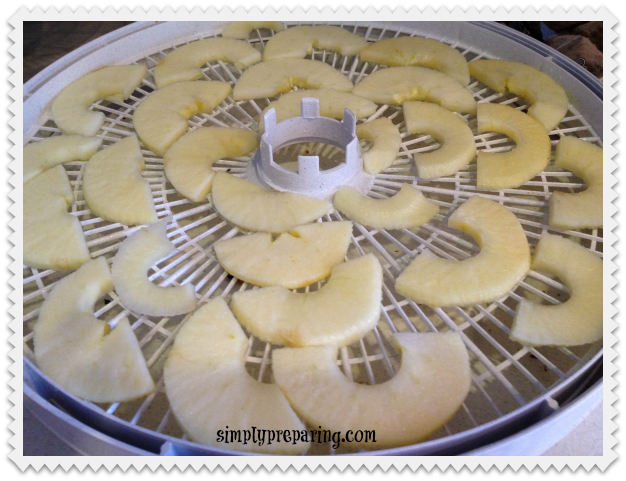
5 lb bag fits 6 Nesco trays perfectly.
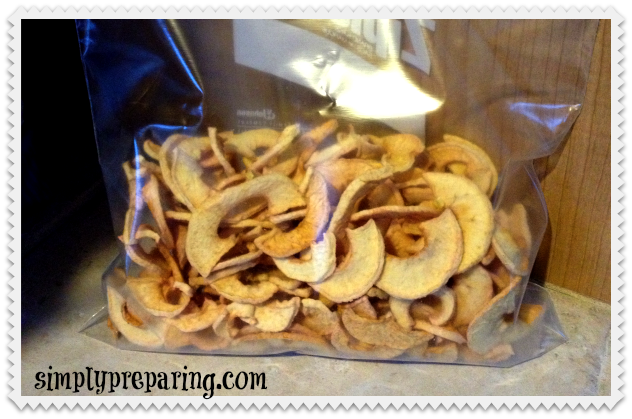
This whole process yields roughly a 1/2 gallon Ziploc bag, which will take my teens minutes to munch through. If I was storing this for long term use, I would seal in a mason jar, take the air out with the foodsaver jar sealer and include a silica gel pack.
I had to wonder who this compares cost wise to just buying a bag. I looks like in my local area I can get a bag this size for roughly $10. Apples right now are running about $1 a pound (not on sale) in my area so this is cheaper. Finding apples less expensive would be better economically but even at the $5 savings I like doing this for my family. They love the taste and it is easy and I know what is in it!