As an Amazon Associate, I earn from qualifying purchases.
Starting seeds indoors? Really? Already? If you are like me, and still having huge storms at the end of March, it may be hard to remember that it is time to get those seeds started indoors! But believe it or not, it is.
Steps for Starting Seeds Indoors:
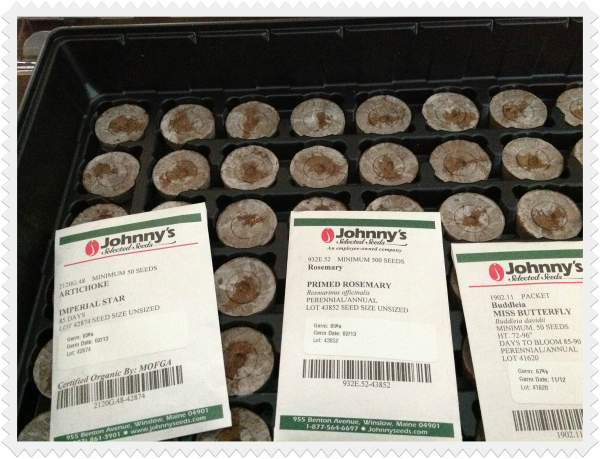
- Buy fresh seed-look for the date stamp on packet. Remember that many preppers buy more seed than needed to store. If you are going store left over seed make sure to leave them in a cool, dark place and clearly mark them.
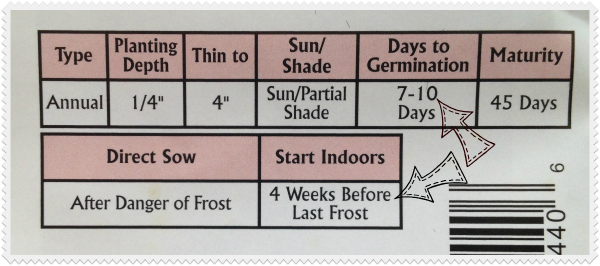
- Pick a date- I like to start my peppers and tomatoes the first week of April. Here in the Denver area many people use Mother’s Day as the planting date but I have seen too many late May snowstorms blow in and I feel safer with a Memorial Day plant date. Your outside plant date needs to be shortly after the danger of frost has disappeared in your area. Once you have your ‘plant outside date’ you need to read the seed packet carefully. The seeds below should be started 5 1/2 weeks before your desired plant outside date.
- Gather your seed germination supplies.
In addition to seed, you will need:
- this list contains Amazon Affiliate Links.
- Drip Tray
- Dome cover or plastic wrap for humidity. You can buy these or use plastic cake covers like what you would get when buying cupakes (ask your bakery or treat the kids)
- Jiffy Peat Pellets or
- Root riot starter cubes or
- soil-less, sterile seed starter mix like Fertilome or EKO
- chopsticks or a sharpened pencil
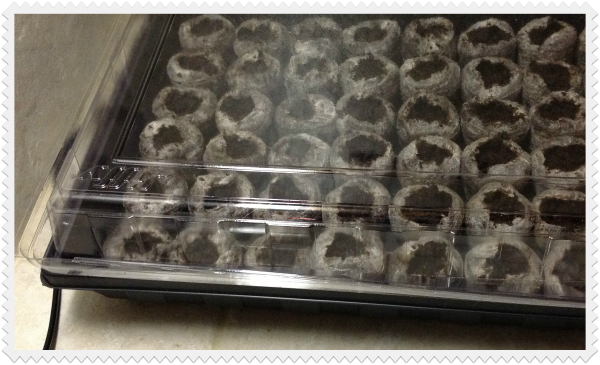
I found Jiffy Peat Pellet trays with the domes and pellets on sale at Lowes for $6 so I decided to use those this year. You can also get them on Amazon.
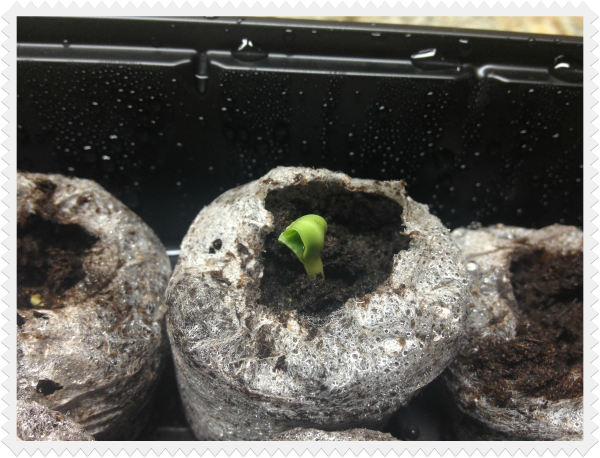
- Plant your seeds at the right depth-after you follow the directions on watering your soil less starters you need to refer back to your seed packet for the right planting depth. The seeds we were looking at above need to go in at 1/4″. Get a chopstick or a sharpened pencil and measure that mark on your planting stick. Now use it to make a hole in the center of each pellet just to that depth, place a seed in and lightly cover it up. The number one thing people do wrong in the germination process is bury seeds too deep.
- Provide the right heat and light. For most plants (especially tomatoes and peppers) you are going to want to use a heat mat under the tray to keep them warm enough. These are usually around $30 and are designed to fit one planting tray. They last forever and I consider them a good investment.
- Water often but carefully. Use a mister to water your seedlings. You want the tops slightly damp but don’t soak! Mold will become a problem under those domes so make sure to check for too much condensation. If it starts to look like a rainforest under there you will need to vent them. You should be able to see through the domes with a light layer of condensation on the top.
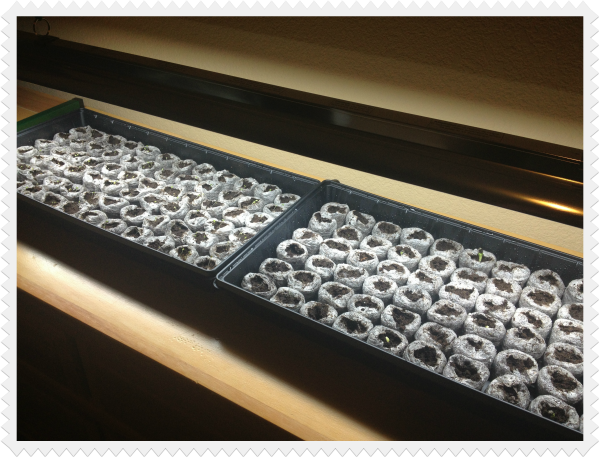
- Check your seeds often. It seems like nothing happens for days and then all of a sudden you have plants on your hands! As soon as plantlets start to pop up you need to move them to a south facing window or put them under grow lights. I use full spectrum grow lights that are set to 3″ above the leaves for 12-14 hours a day. I just don’t get enough sun for them in a window.
- Water. Use warm water and water from the bottom up. Let the seed trays do the work. Mist your plants often as most seedlings like 50-70% humidity. I like to put the domes back on at night when I shut the lights off.
- Fertilize: Once the seedlings have developed their first set of true leaves fertilize with a half strength liquid fertilizer.
- Pet your seedlings. I know this sounds crazy but you are trying to harden them off from the winds they will have to face outside. Just open your palm and run over the tops gently.
- Get ready to move them to larger pots. I am just about to move these artichokes, rosemary and butterfly over to bigger pots so I can get my tomatoes and peppers started. I’ll post those pictures as soon as I do.
Great information! I was just wondering how to do this! Love your blog!