• Skip to main content
  • Skip to secondary menu
  • Skip to primary sidebar
emergency preparedness

Simply Preparing

Survival blog for disaster and emergency preparedness.

  • Home
  • About Simply Preparing
  • Beginning Prepping
  • Simple & Inexpensive Prepper Projects

Homemade Beeswax and Honey Lip Balm

April 17, 2018 By ParkerMama

We may earn money or products from the companies mentioned or linked to in this post, including Amazon Affiliate links

My Homemade Beeswax and Honey Lip Balm is the perfect blend of beeswax and honey.  In addition, I toss  in some organic Coconut Oil, and Kokum Butter for a sweet tasting winner.  This is a harder lip balm that will melt from the warmth of your finger to glide on and moisturize all year long.

 Bees Wax and Honey Lip Balm

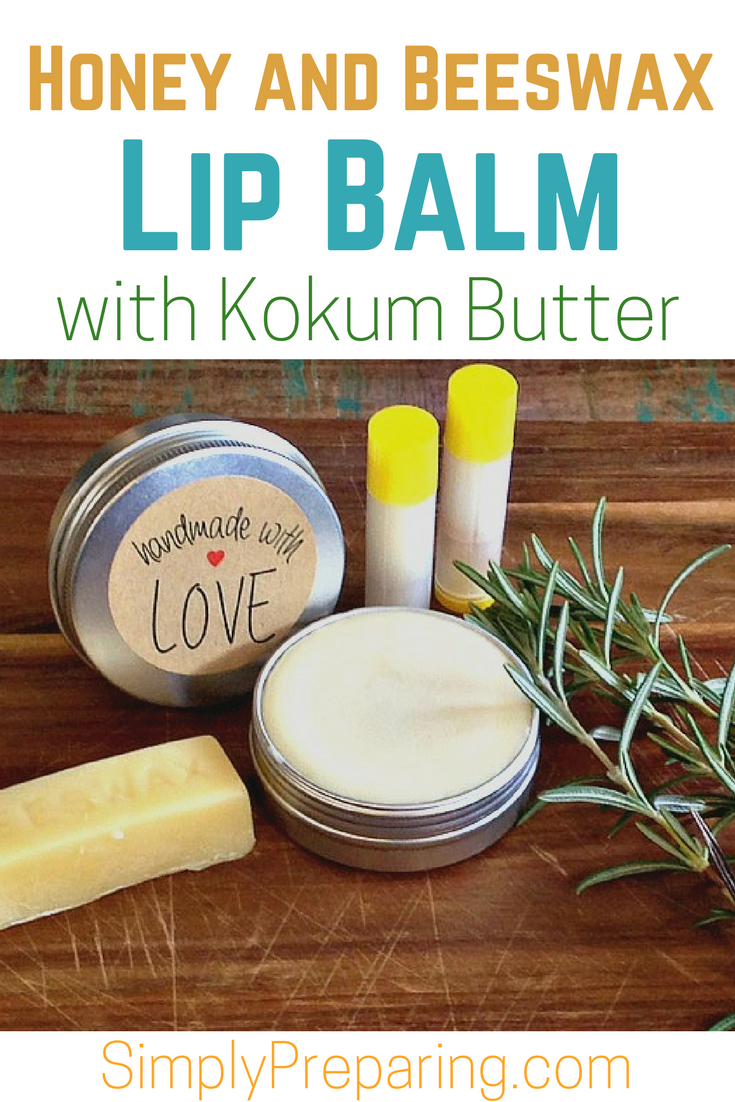
Essential Oils For Beeswax and Honey Lip Balm

Ultimately, you can’t have a killer lip balm recipe without essential oils. This beeswax and honey lip balm is no exception. Due to being impatient for Summer, I added in both Peppermint and Rosemary essential oils.

Pro Tip: I change up the essential oils in this beeswax and honey lip balm all the time. Peppermint and Lavender is another fun blend to use!

What Is Kokum Butter?

*this post contains affiliate links Raw Kokum butter is a hard, crumbly butter that melts well.  Unlike Cocoa Butter, Kokum has no scent.  Because many people find Coconut Oil to be drying, I use Kokum butter in this recipe.  Furthermore, I like Kokum’s moisturizing abilities even better than Shea Butter or Coco Butter.

Ingredients For Beeswax and Honey Lip Balm

*this post contains affiliate links

2 Tablespoons Beeswax

1 Tablespoon Organic Coconut Oil

1 Tablespoon Organic Raw Kokum Butter

1 Teaspoon Honey   I like to jazz mine up with some DIY   Manuka  Honey!

6 Drops Peppermint Essential Oil

3 Drops Rosemary Essential Oil

8-10  Lip Balm Tubes

* I doubled this recipe to fill my large 2 ounce  tin and three 5.5 ml  lip balm tubes.
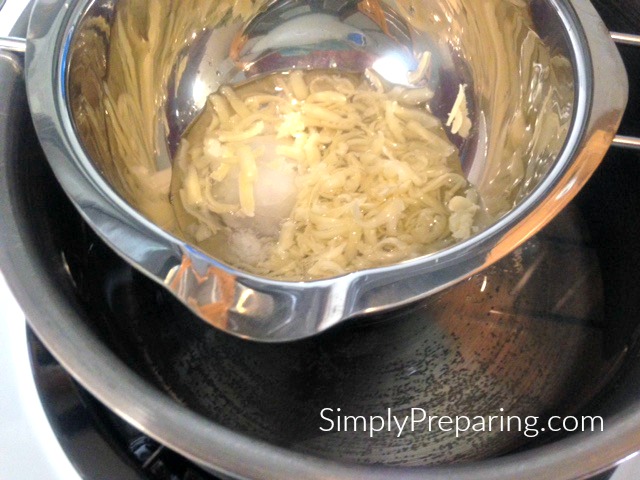
The Method

1. First, measure your beeswax, coconut oil, and mango butter into a glass or metal container.  I LOVE this melting pot that allowing me to pour right from it.

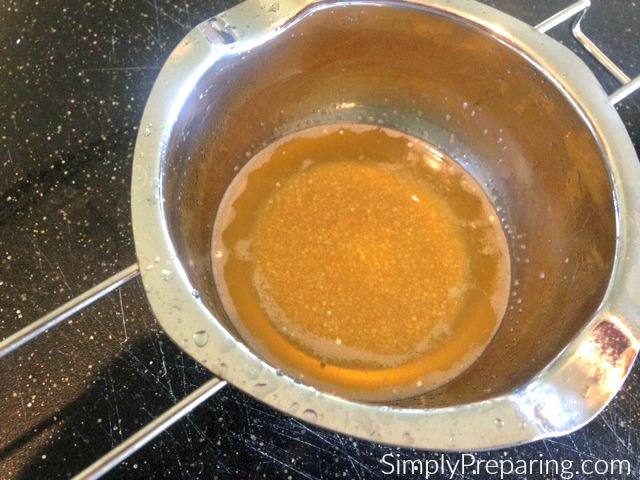
2. Heat the water until simmering, stirring until everything is melted.  Don’t allow any water to get into the oil and butter mixture.

Melting pot for beeswax and honey lip balm

3. Next, remove the pan and add in the essential oils and honey.  Stir.

4. Finally, add the  liquid lip balm mixture into your containers.  To help keep the honey incorporated evenly throughout the mixture, you’ll need to stir and pour,  stir and pour.

Beeswax and Honey Lip Balm

Pro Tip: To prevent the ‘divots’ in the top of your tubes and metal containers, don’t pour until your mixture has cooled down some.   The cooler the mixture the less divots, or indentations at the top of your containers.

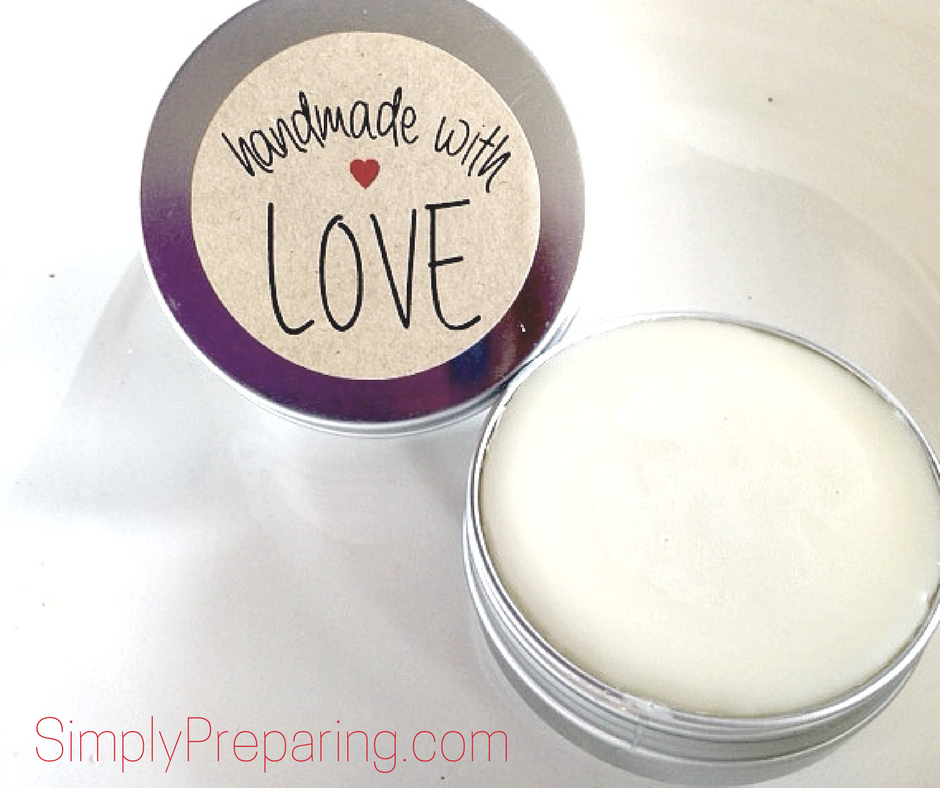
Also, you can  fill the  mixture above the line for the container, until it forms a rounded top without pouring over.

So, there you have it, once your Honey and Beeswax Lip Balms cool to room temperature, they are ready to us!

melted lip balm ingredients

Pro Tip:  Sometimes when I use this combination of oils and butters, I get these little dots that look like they won’t melt all the way.  Since they wind up incorporating into the lip balm as it cools, there’s nothing to worry about.

More Essential Oil Recipes

Because I’m working towards a more natural approach to bath and body products, I’ve been making more of my family’s products. Another benefit to homemade products is the costs savings!

Homemade Organic Brown Sugar Scrub Bar

Lavender Charcoal Soap DIY Homemade Soap Recipe

Homemade DIY Gardner’s Soap With Essential Oils

Filed Under: Essential Oil Recipe, Essential Oils, Uncategorized Tagged With: #DIY, essential oil recipe, Homemade, young living

About ParkerMama

Tammy is a mom to 6 wonderful kids, including Parker, who came with an extra chromosome! She is passionate about special needs advocacy, living within her means, and preparing for an uncertain future. Tammy's main blog is Praying For Parker. Make sure to visit her there as well!

Primary Sidebar

Why Worry About Preparing?

Preparedness makes more sense now than ever.

As we move through 2026, it’s clear that the world is shifting in ways many of us can feel — even if we can’t always predict what’s next. In recent years we’ve seen global supply chain disruptions, international conflicts affecting energy and food markets, extreme weather events across multiple continents, cyberattacks on critical infrastructure, economic uncertainty, inflation, and rising costs for everyday essentials.

From global pandemics to geopolitical tensions and natural disasters happening around the world, the message is the same: stability isn’t guaranteed.

Whether or not you believe we’re headed toward a major global reset, there are plenty of everyday realities that make preparedness practical — not extreme. Job loss. Health emergencies. Severe storms. Power outages. Supply shortages. Economic downturns.

Preparedness isn’t about panic.

It’s about positioning your family to respond calmly when life throws the unexpected your way.

We’ve found that the more intentional emergency planning my family does, the less I worry about the big “what ifs.” When you have food storage in place, backup plans for power and water, and practical skills to lean on, uncertainty feels manageable.

That peace of mind is powerful.

Here at Simply Preparing, we share the survival tips, preparedness strategies, and practical systems we’ve learned along the way — from pantry building and food storage to emergency planning and self-reliance skills. Our goal is not to create fear, but to create confidence.

And we hope you’ll join the conversation.

Preparedness is not a solo journey. We all bring different experiences, lessons, and perspectives to the table. Share what you’ve learned. Ask questions. Leave comments. We grow stronger and smarter together.

Now, let’s get started prepping.

Pick a post and begin reading. At the end of every article, the blog will randomly suggest three additional preparedness posts to explore. Set aside just 10 minutes a day to build your knowledge base. Small, consistent steps add up faster than you think.

Because when it comes to preparedness, we’re never truly “done” learning — and we’re never wrong for being ready.

Let’s prepare wisely.

Affiliate Disclosure

We are a participant in the Amazon Services LLC Associates Program, which means we may earn a small commission if you make a purchase—at no additional cost to you. We only recommend products we personally trust and believe are worth having as part of a simple, practical preparedness plan.

Privacy Policy and Cookies

This site uses cookies. Please read our Privacy Policy so you fully understand how we use them.

Copyright © 2025 Indigo Ink, LLC: Simply Preparing Disaster and Emergency Preparedness · WordPress · Log in