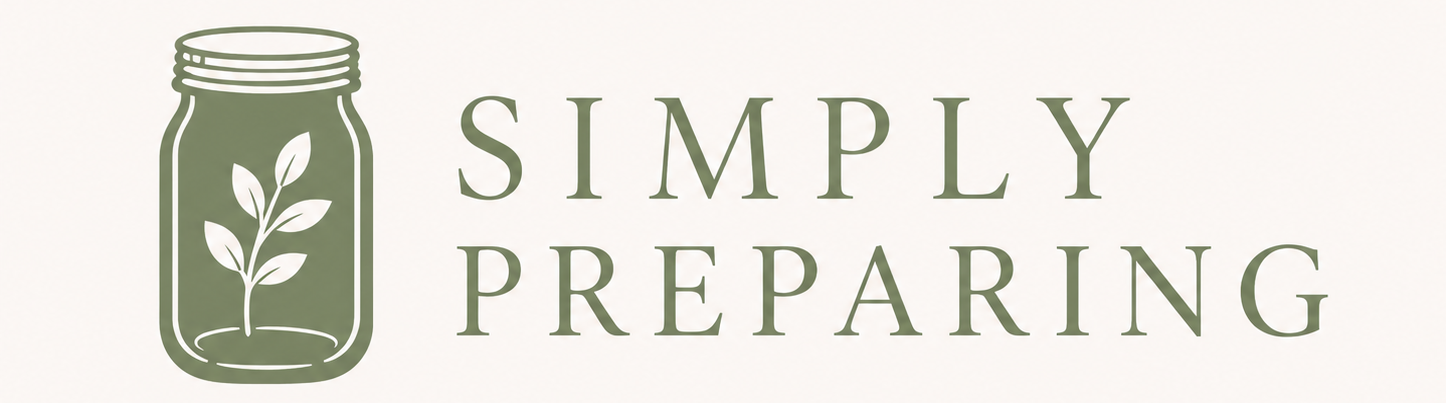
Making your own lip balm is easy. What's hard is deciding what kind of lip balm to make. Today I'm combining two of my favorite things, lemon essential oil, and freeze dried raspberries into a coconut oil and beeswax lip balm that is not just moisturizing but provides a little bit of summer time flavor too. You're going to love this Raspberry Lemonade Lip Balm! Raspberry … [Read more...] about DIY Raspberry Lemonade Lip Balm
Essential Oil Recipe
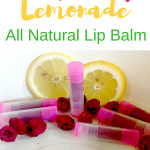
Homemade Organic Brown Sugar Scrub Bar
I'm not a big fan of taking jars of sugar scrub into the shower with me. Water gets into handmade items and can cause all kinds of grief. Instead, I love bringing a Homemade Organic Brown Sugar Scrub Bar with me. Super simple to make, I just break off a piece of the bar and take that with me into the shower. What Makes Our Organic Brown Sugar Scrub Bar Terrific? The … [Read more...] about Homemade Organic Brown Sugar Scrub Bar
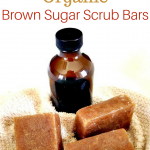
Homemade Herbal Milk Bath Essential Oil Recipe
Our Homemade Herbal Milk Bath is going to rock your world. Milk, chamomile flowers, and lavender essential oil provide nourishing skin properties, including removing scaly winter dried skin. As a result, ingredients you may already have in your cupboard work skin softening magic in your bathtub. Homemade Herbal Milk Bath Ingredients *this ingredient list contains affiliate … [Read more...] about Homemade Herbal Milk Bath Essential Oil Recipe
Simple DIY Facial Wash Recipe With Essential Oils
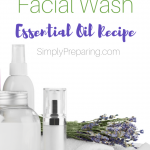
This simple DIY facial wash recipe with essential oils takes easy to new heights. Seriously, 10 minutes from start to finish! Most of all, this recipe creates a non-drying, cost effective, facial wash! You will love this. Promise! Essential Oils In The Simple DIY Facial Wash Recipe Did you know that Frankincense essential oil maintains glowing skin? It's true. And … [Read more...] about Simple DIY Facial Wash Recipe With Essential Oils
Homemade DIY Gardener’s Soap With Essential Oils
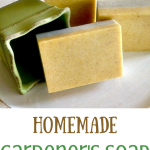
It's almost that time of the year again! Time to play in the dirt and get planting! When it comes to cleaning grimy gardener hands, this Homemade DIY Gardener's Soap with essential oils the perfect solution! What Makes A Great Gardener's Soap? You want a bar that exfoliates and soothes as it cleans. And the scent. The scent must be one that keeps you coming back over and … [Read more...] about Homemade DIY Gardener’s Soap With Essential Oils