As an Amazon Associate, I earn from qualifying purchases.
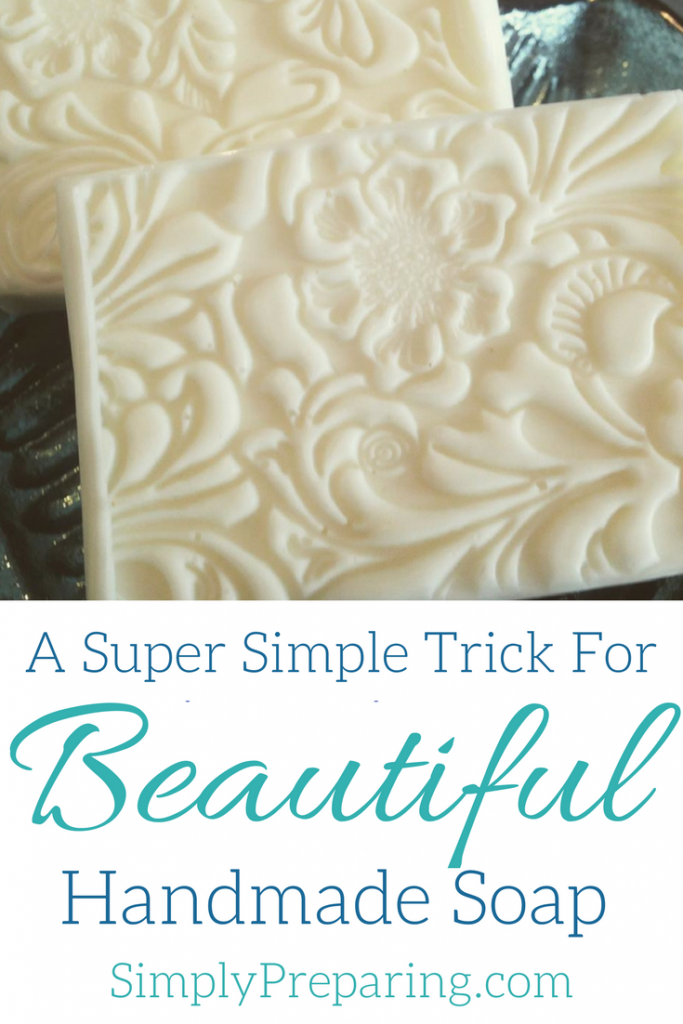
What if I told you that my most intricate melt and pour soap design was actually the easiest of them all? No, really, It’s true. Embossed soap, using melt and pour soap base, is the easiest bar of soap you will ever make. It’s the perfect bar of handmade soap for gifts and for the guest room. It’s the perfect bar of soap for the beginning soap maker as well as the advanced soap maker. Most importantly, it is the perfect bar of soap for you.
Why Make Your Own Embossed Soap?
Let’s face it, life can be hard. Money is tight. Naturally, the opportunity to turn some time in the tub into a mini vacation, a self therapy session, a moment to simply relax, can go a long way to recharging our batteries. All of this for the cost of a simple bar of handmade soap? Well, count me in.
Customize Your Embossed Soap Using Essential Oils
Aromatherapy is a well known stress relieving, mood enhancing, science. If I were making this melt and pour embossed soap in the summer, I might choose a scent to help me unwind after a long day in the garden.
Because my family is facing a few unexpected challenges right now, I’m choosing Young Living’s Stress Away. Due to it’s happily calming blend of Lime essential oil and Vanilla is just the thing to help me find my zen.
Happily, Young Living’s Starter Kits include not only Stress Away, but 9 others of their best selling essential oils!
ProTip: Here’s how to order Young Living Essential Oils. AND Get a $25.00 REBATE!
Let’s Get to Soapin’ Here’s What You Will Need
*this list contains affiliate links
1 pound of goat milk melt and pour soap base
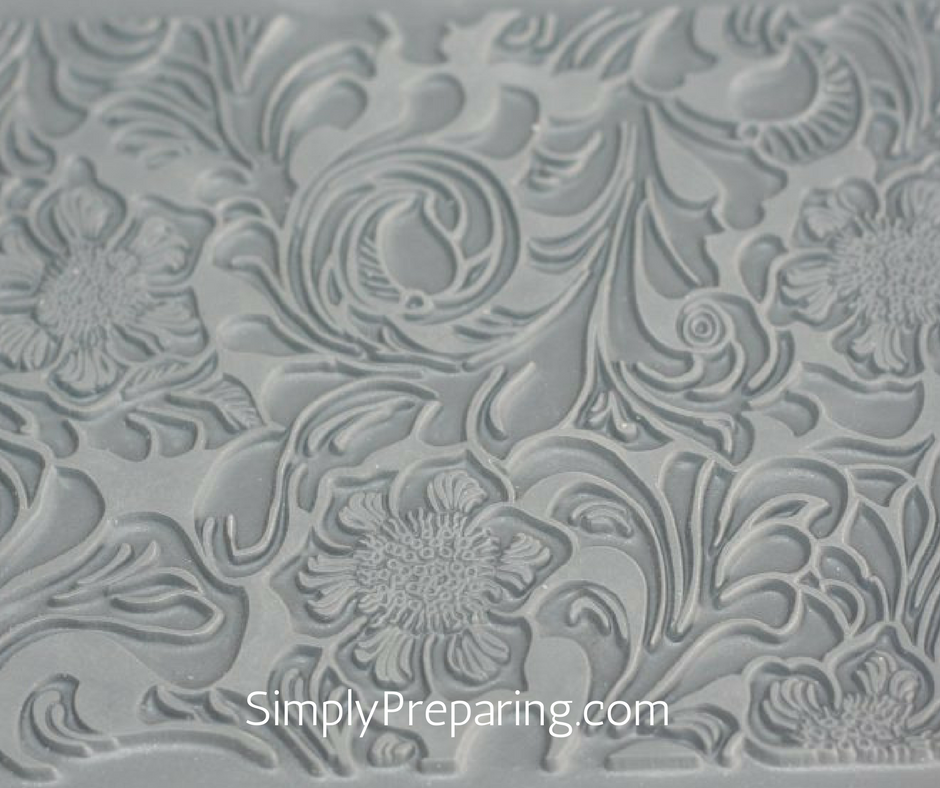
Lisa Pavelka’s 4 1/4 x 51/2 inch Texture Stamp ‘Tooled Leather’ Or any texture stamp of your choice.
3×2 Rectangular Soap Mold (This recipe makes four bars of soap using this mold.)
Young Living Essential Oils of your choice. I chose Stress Away and added 4 drops of oil per bar of soap. Here’s how to order Young Living Essential oils.
Small Spray Bottle filled with Rubbing Alcohol
Pyrex Measuring Cup
Spoon
Scissors
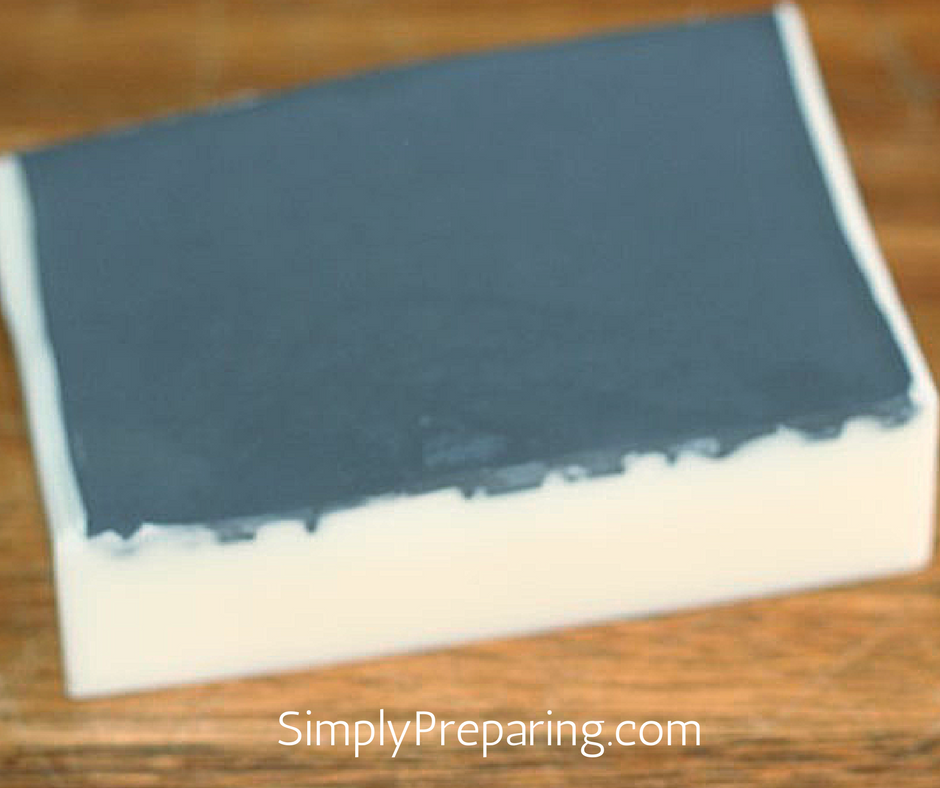
1. Take your texture stamp and cut it to the size of your soap molds. You will want a good pair of scissors to do this with. If you choose the soap mold I listed above, the size of your texture mat will be 4 1/4 x 5 1/2 inches. I then cut this texture mat into two pieces of 3 x 2 inches each to fit into two of my soap mold cavities. This gave me the ability to make 2 embossed soaps at a time.
2. Chop up your goat milk soap base into chunks and place them in the Pyrex measuring cup.
3. Next, pulse your soap in 30 second increments in the microwave, stirring in between each pulse.
4. Use a bit of that melted soap base as a ‘glue’ to glue the texture mats to the bottom of your soap molds. This will help to keep the soap base from flowing UNDER your mats when you go to pour your soaps.
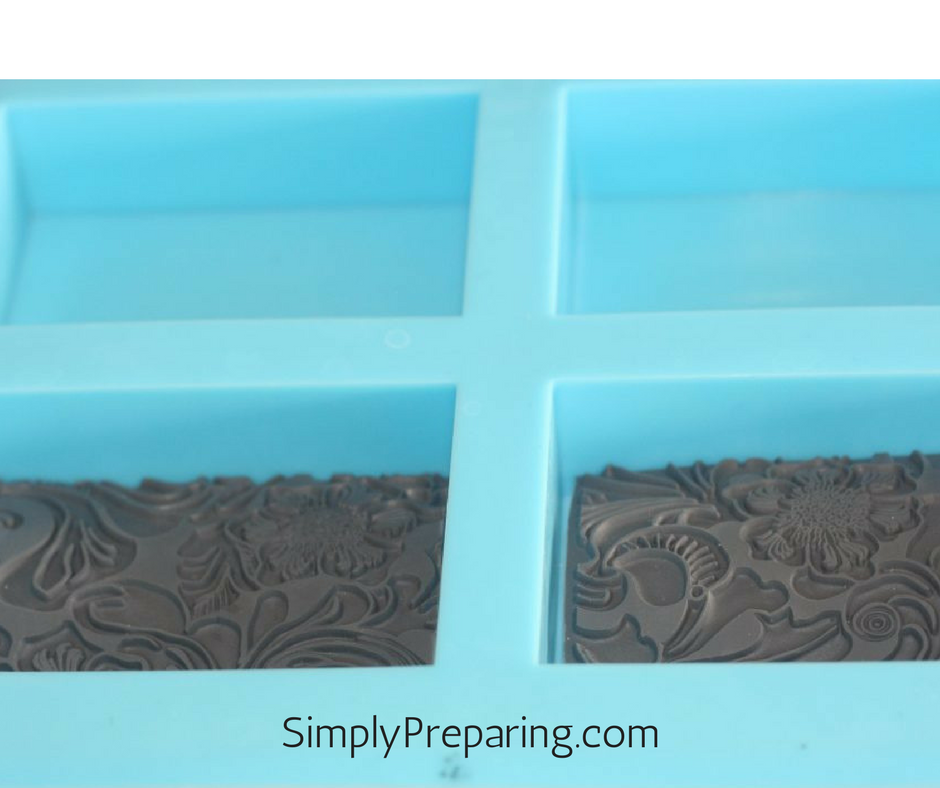
5. Let the soap ‘glue’ dry.
When To Add The Essential Oils
6. Check the rest of your melted goat milk soap base to see if you need to pulse it in the microwave again. If it is still pourable, add your Young Living Essential Oils, 4 drops of Stress Away per bar of soap.
You do NOT want your base to be super hot when adding your oils. Due to their nature, essential oils will ‘burn off’ when added to soap that is too hot. Remember, if you can’t let you finger comfortably rest in the melted soap base, it’s too hot!
*If by chance you choose to add *this post contains affiliate links liquid colorant to your soaps, do this right before you add the essential oils.
Pouring The Soap Bars
7. Now it’s time to pour the soap base into the molds with your texture mats. You don’t want your soap to be too runny, as that will make it easier for it to run under the texture mats. A little thicker, cooler soap is what you want. Hence, if you can’t let you finger comfortably rest in the melted soap base, it’s too hot!
Additionally, you can use your finger to hold down the texture mat inside the soap mold too. This will help keep the soap from flowing under that texture mat.
However, if something does go wrong, it is very easy just to re-melt your base and try again. I told you this was the easiest bar of embossed soap you will EVER make!
8. Once you have poured your soap bars spritz them with the alcohol in your small bottle. This will remove any bubbles on the back of the soaps. Don’t move the mold until the soap has set up. Just let it all hang out on your counter and firm up.
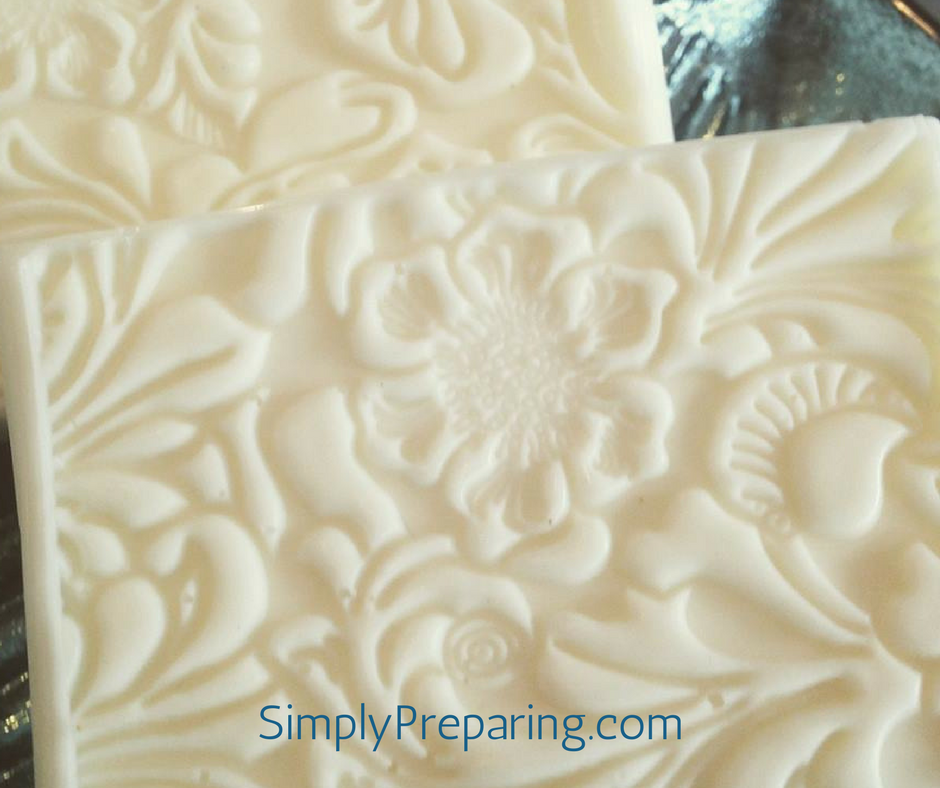
9. Once your soap is very, very, very, very solid, pop out the bars and peel off the texture mats!
10. Using a sharp knife, or vegetable peeler, clean up the edges of your soap if you would like.
11. Viola’ Beautifully intricate, wonderful smelling soap! Time to to peel off those clothes and hit the shower or tub! heh.
While we may not be able to avoid all of the stresses life throws our way, there are things we can do to keep the damage as minimal as possible. Something as simple as a beautiful, easy to make, embossed bar of sitting at your sink waiting for you to wash you hands, can go a long way in making life a little bit kinder.
Don’t forget to check out our other melt and pour soap recipes using Young Living Essential Oils!
Hello
Thank you for giving a tip on how to secure the mat to the bottom of the mold. I have watched so many videos, and you are the only one (that I have come across) who has taken the time to inspire us ‘newbies’ working with the silicone mat and M&P soap. I love your images and your tutorial. Here’s wishing you continued success. Best regards
.
I totally agree with the gal above. You rock! These soaps scream ELEGANT!
Keep Rockin’ Soap!
Linda @ MGB Custom Gifts
Buffalo, KY