We may earn money or products from the companies mentioned or linked to in this post, including Amazon Affiliate links
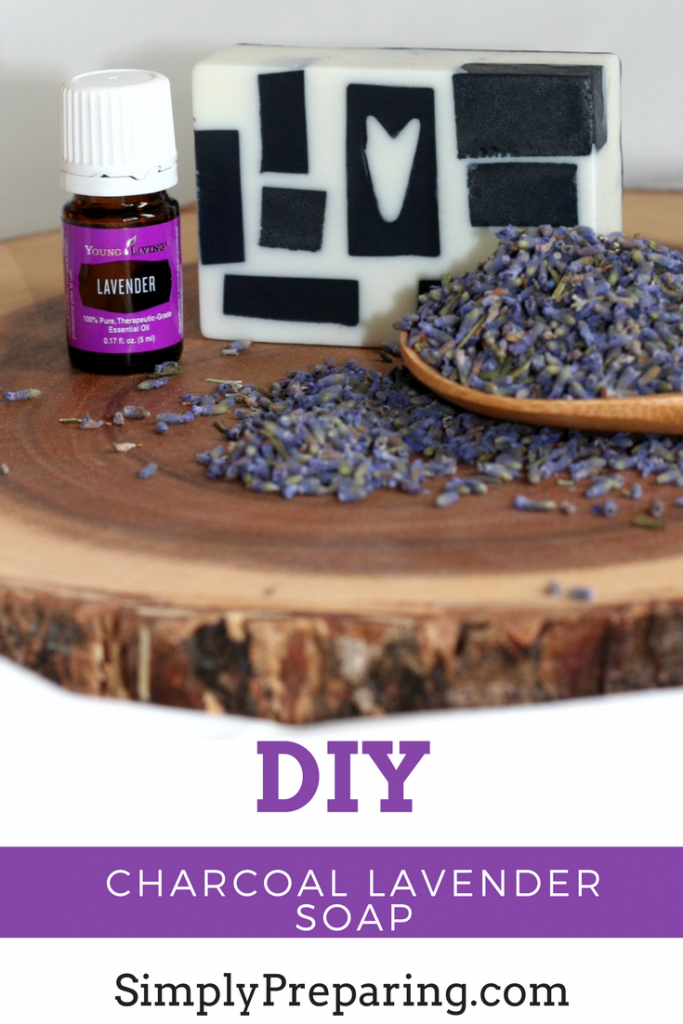
Lavender Charcoal Soap is the perfect blend of a few of my favorite things. Charcoal is terrific for oily skin, with the ability to pull both oil and dirt from pores. Because the charcoal can be drying for some skin types, I’ve chosen to add a bit of shea butter to a goat milk base, to help balance this bar.
Supplies:
*this post contains affiliate links
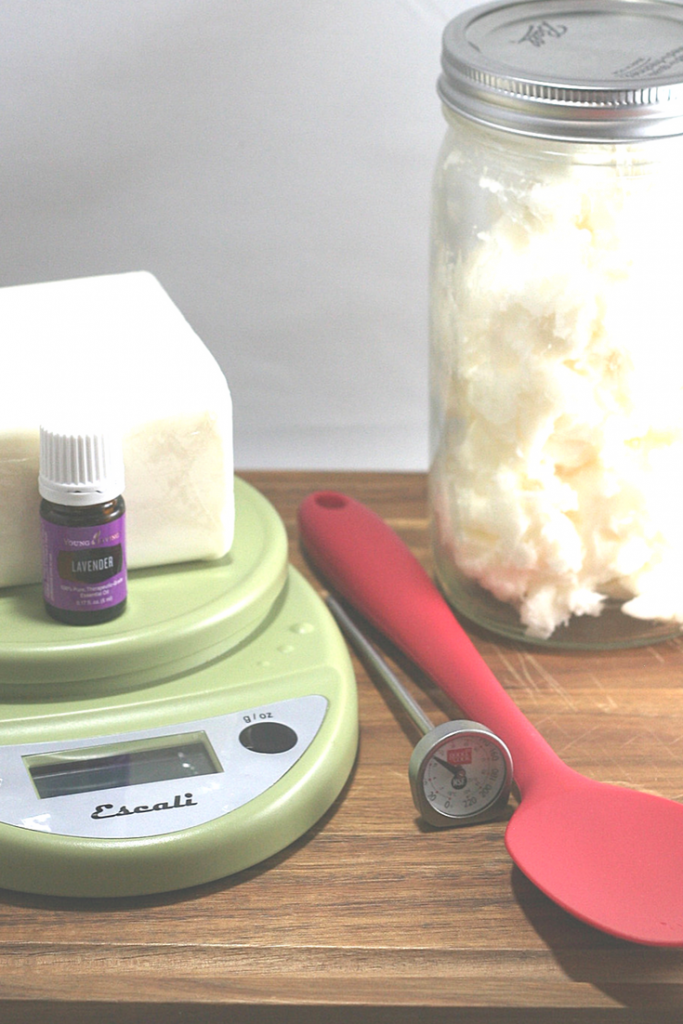
2 1/2 pounds of white Goat Milk Melt & Pour Soap. I chose goat milk melt and pour soap for it’s extra skin softening abilities.
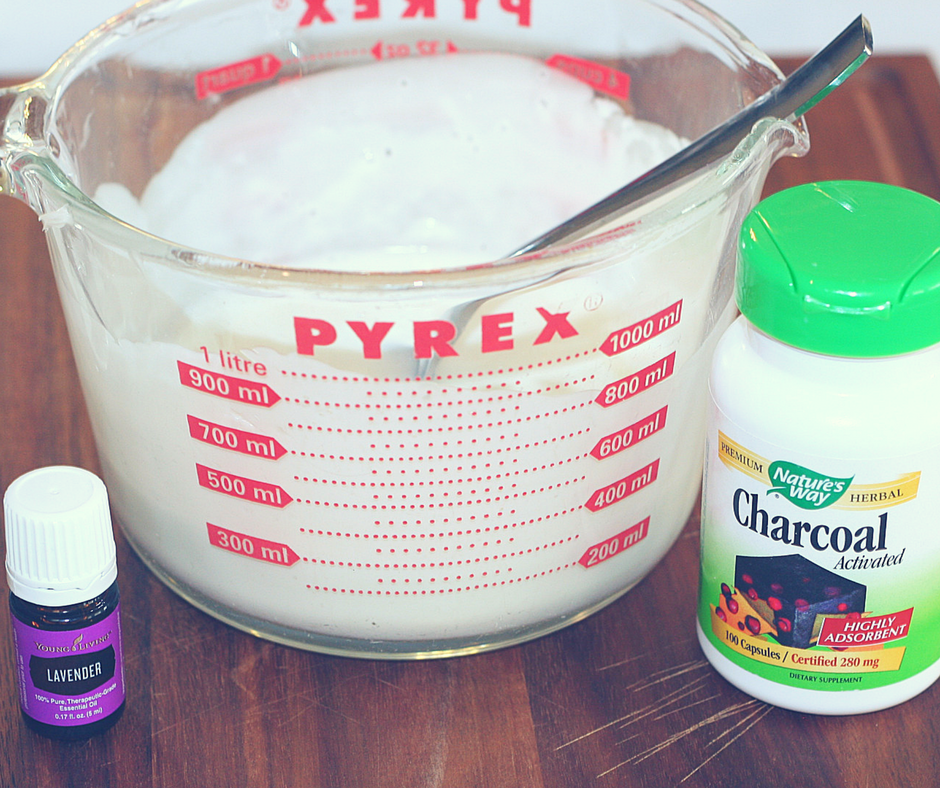
Activated Charcoal. I prefer to use the capsules. I have a fear of an open bag of charcoal being overturned somewhere in my house. (shiver) But if you rather go with the loose stuff, I like this brand.
Young Living Lavender Essential Oils I choose to use only Young Living Essential Oils. You can go here to learn more about my favorite oils!
Shea Butter (optional) I chose refine shea butter because unrefined comes with a scent that is hard to cover.
Heat-safe glass measuring cup
Thermometer (optional)
Scale (optional)
Let’s Get Started Making Lavender Charcoal Soap!
Set aside 2 pounds of the goat milk melt and pour soap.
Cut 1/2 pound of the goat milk melt and pour soap into 1/2 inch cubes and place in heat safe glass measuring cup.
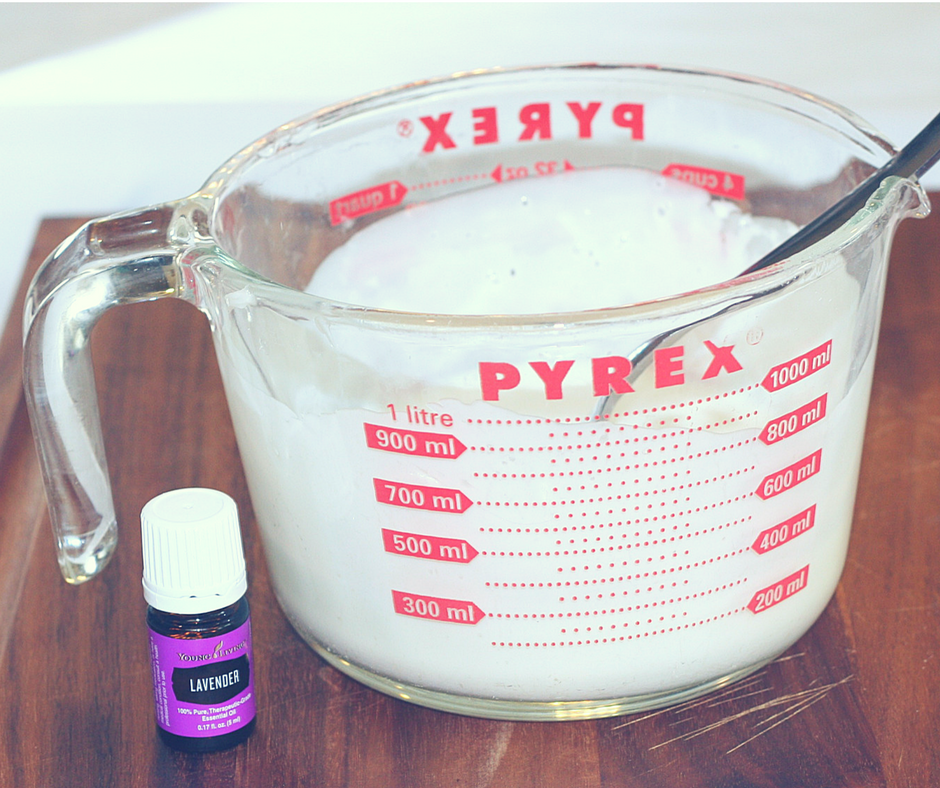
Melt the 1/2 pound of melt and pour and 1/4 teaspoon shea butter in the microwave for 30 seconds, stir, and repeat until soap is completely melted.
Allow to cool for a minute and then add 5-10 drops of Lavender Essential Oil.
Slowly add in 5 capsules of charcoal(opening each capsule and adding the charcoal, and disposing of the actual capsule) and stir until it is entirely incorporated into the soap. The soap should be black. If it isn’t dark enough for your liking, add in another capsule.
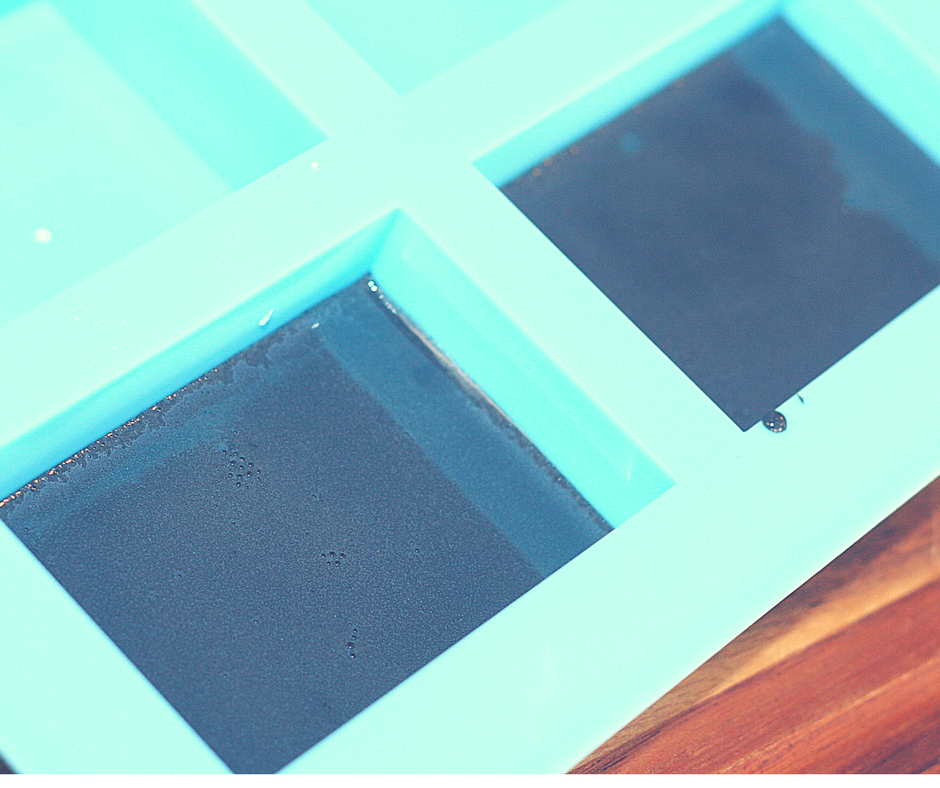
Pour this now melted black soap into two of your soap molds in different thicknesses. (You can put it back in the microwave for a few seconds if it’s set up too much.) Spritz with alcohol to get rid of the bubbles. Allow to set up and dry.
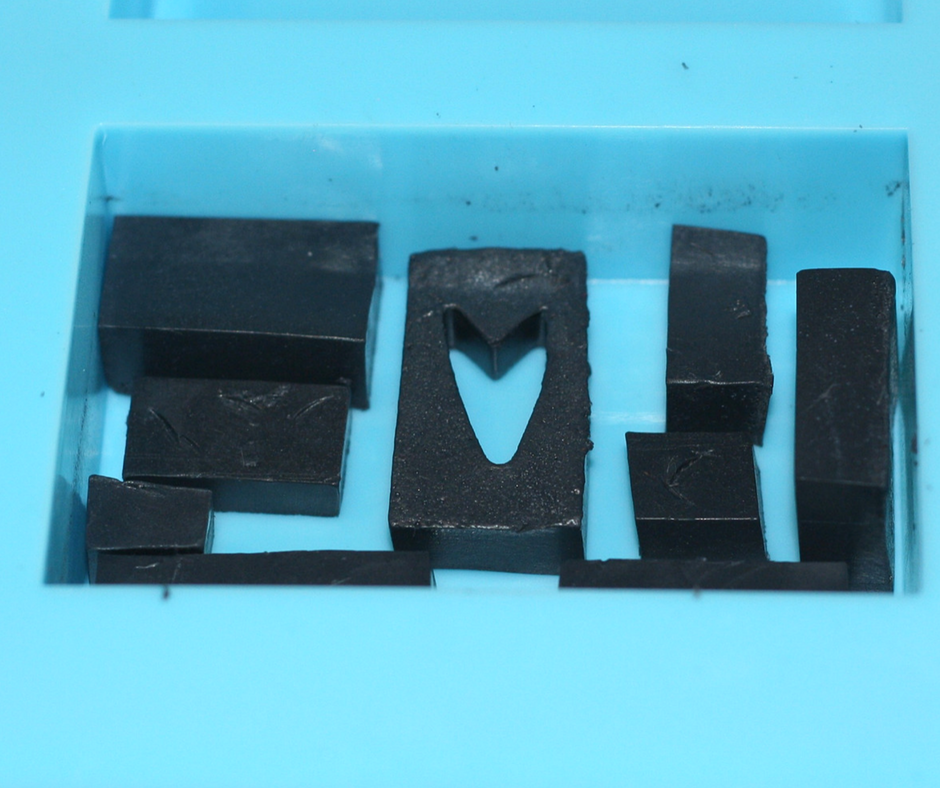
Pop out the soap and then cut it into different sizes of rectangles and squares. You’ll need to make sure that your sizes fit into your molds.
You can use a small kitchen knife to free hand the heart inside of your square, or you can use a fondant cutter in the shape of a heart.
Give Your Black Soap Shapes Time To Dry
I recommend allowing your shapes to dry for at least a few hours to over night before continuing on with the recipe. This will help your black shapes not to melt into your melted white base. However, if you are in a hurry, we can proceed now.
Creating The Soap Design For Your Lavender Charcoal Soap
Place your black shapes into each mold in the design of your choosing. Having some shapes placed horizontally and some shapes vertically (going UP the sides of your mold) will give more visual interest to your soap.
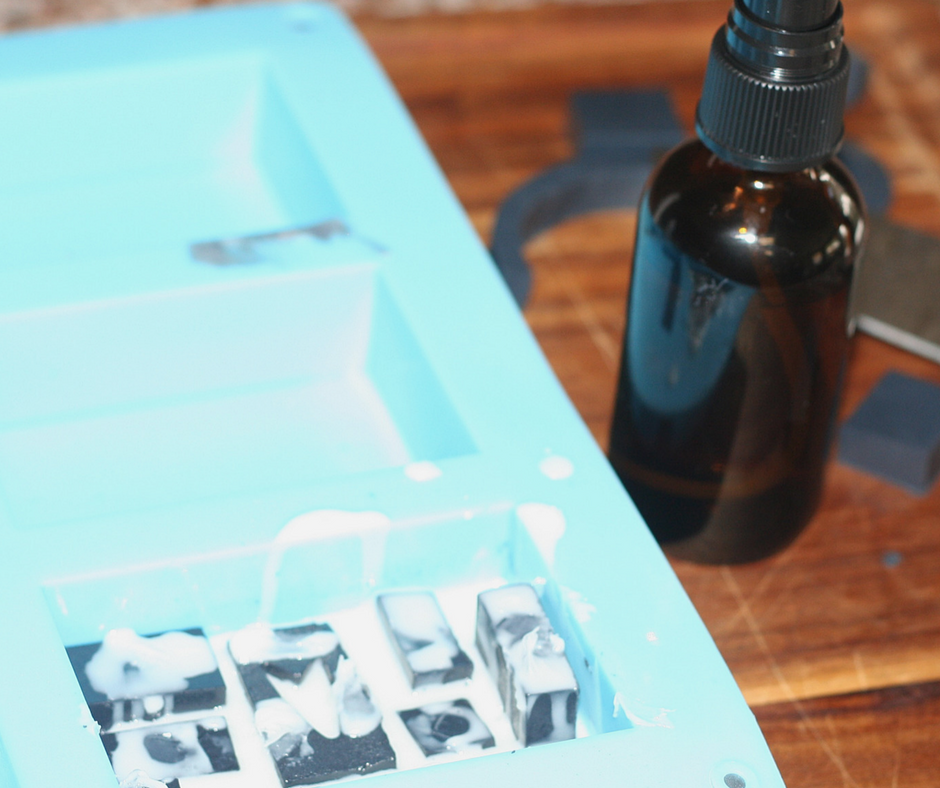
Press the shapes in so that no air is between the shape and your mold.
Melt The 2 Pounds Of Melt And Pour Soap You Set Aside
Take the 2 pounds of goat milk soap and cut it into half inch cubes. Add 1 teaspoons of shea butter. Microwave in 30 second bursts, stir, and repeat until your base is melted. Allow your soap to cool for a minute and then add in 25 drops of Lavender Essential Oil.
Pay Attention To The Temperature Of Your White Soap
Pouring HOT white soap over your black shapes will melt your black soap pieces.
You’ll need to pour the soap at a temperature that won’t melt your black soap. That means your white soap needs to be about 125-130 degrees, or liquid enough to pour, but not hot enough to melt.
If your soap is too hot to put your finger in, it’s too hot to pour. If you soap is lumpy when you go to pour it, it has set too long.
Pour ONLY enough soap to cover the bottom of the mold, but NOT the shapes of your charcoal lavender soap. Basically, you don’t want to be able to see the bottom of the mold.
Then, press down the black pieces to create a seal so that as you continue to pour, the white soap doesn’t flow under you black pieces.
Next, spritz your soap with a bit of alcohol to remove any bubbles, and continue to fill your mold with your white goat milk soap. Fill it to the top of your mold, because as your soap sets, it will shrink down some.
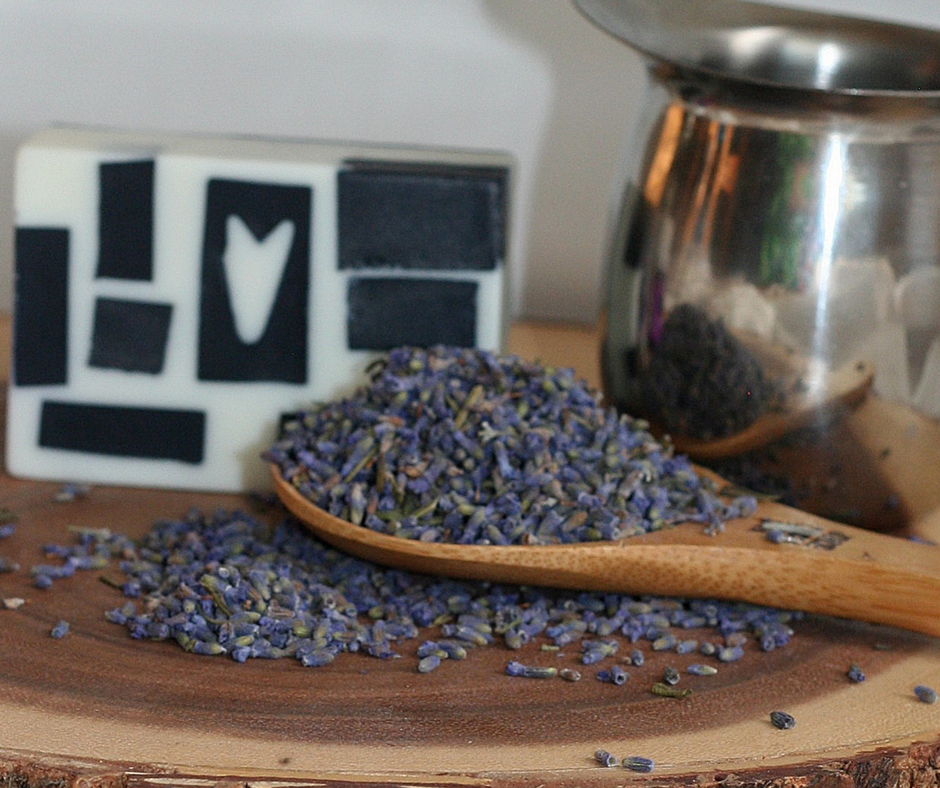
Allow to completely set up and become hard before popping your Lavender Charcoal Soap out of the mold!
Ta-Da! You’ve Made Lavender Charcoal Soap!
To celebrate your success, why don’t you draw up and warm bath and take your soap for a test drive!
Getting Started With Young Living Essential Oils
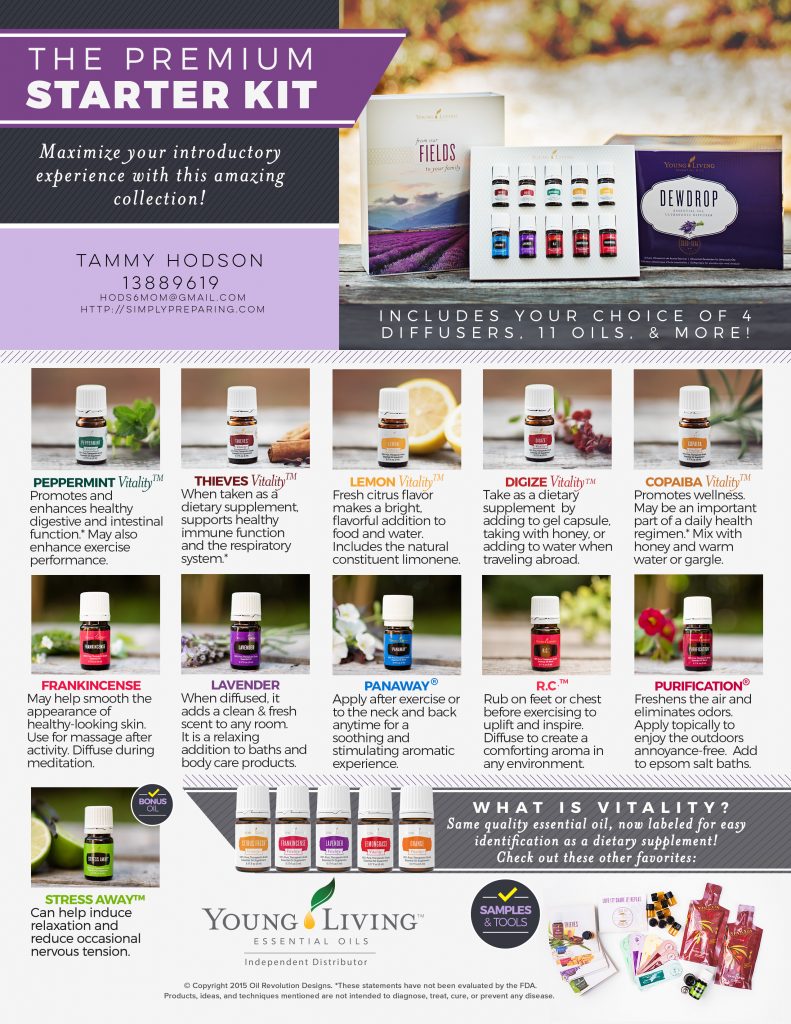
If you are looking to get started with essential oils you can purchase a Young Living Premium Starter kit that includes the Lavender Essential Oil I used in making my Lavender Charcoal Soap. You can learn more about Young Living Essential Oils and my Top Ten Essential Oils for Preppers here.

