• Skip to main content
  • Skip to secondary menu
  • Skip to primary sidebar
emergency preparedness

Simply Preparing

Survival blog for disaster and emergency preparedness.

  • Home
  • About Simply Preparing
  • Beginning Prepping
  • Simple & Inexpensive Prepper Projects

Easy Homemade Nut Milk Recipe

March 12, 2018 By ParkerMama

We may earn money or products from the companies mentioned or linked to in this post, including Amazon Affiliate links

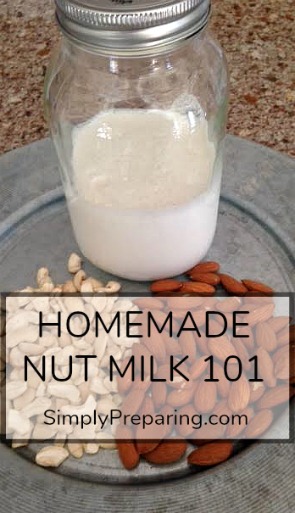
Commercial almond  milk has become a mainstay on grocery store shelves.  While  I bought it for a while, once you start making your own, you never go back.  Homemade nut milk doesn’t come with unnecessary additives known to mess with your gut.  Plus, making your own nut milk allows you to add your own choice of sweeteners if desired.  Let’s get started, shall we?

Easy Homemade Nut Milk Recipe

How Hard Is It To Make Nut Milk?

Homemade nut milk is super quick and easy.  It can also be a bit messy, but, that’s the price of this homemade goodness.

Soaking Your Nuts

Soak your nuts overnight the day before you want to make nut milk.  Soaking does a few things, including making it easier to blend the nuts and reducing the level of phytates – the plant enzyme inhibitor that stops the nuts sprouting without water, soil or sunlight.  Soaking nuts is sometimes called ‘activating nuts’ and makes them easier to digest too.

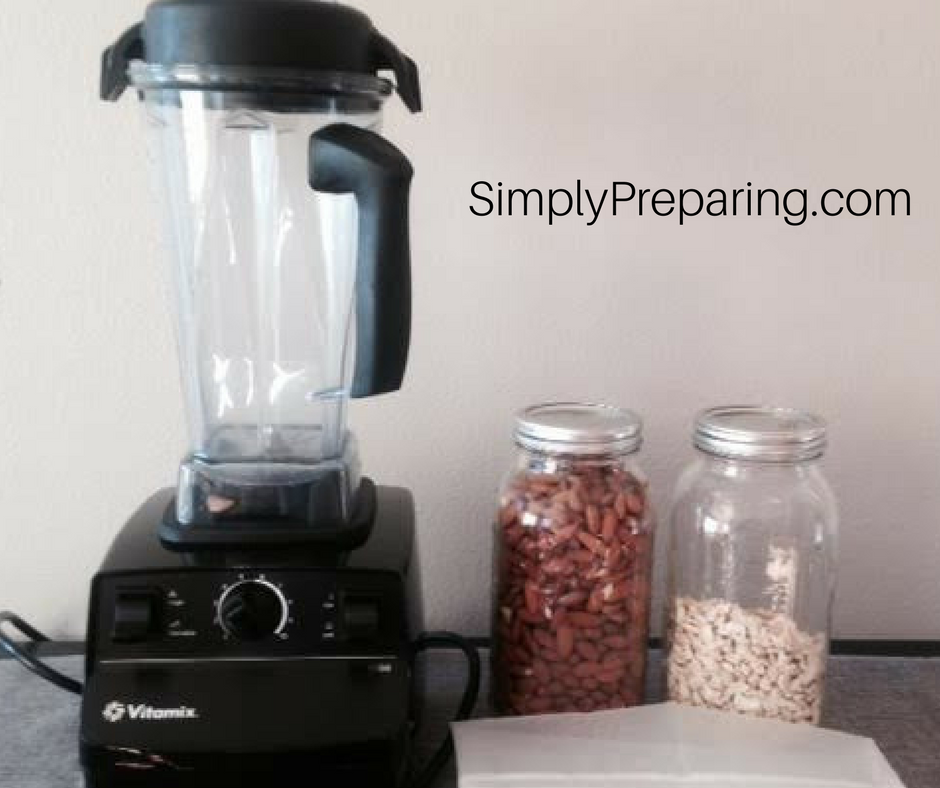
Pro Tip:  Storing your nuts in wide mouth mason jars that have been vacuum sealed with a Food Saver will keep them fresh for years.

Nut Bag for making Homemade Nut Milk

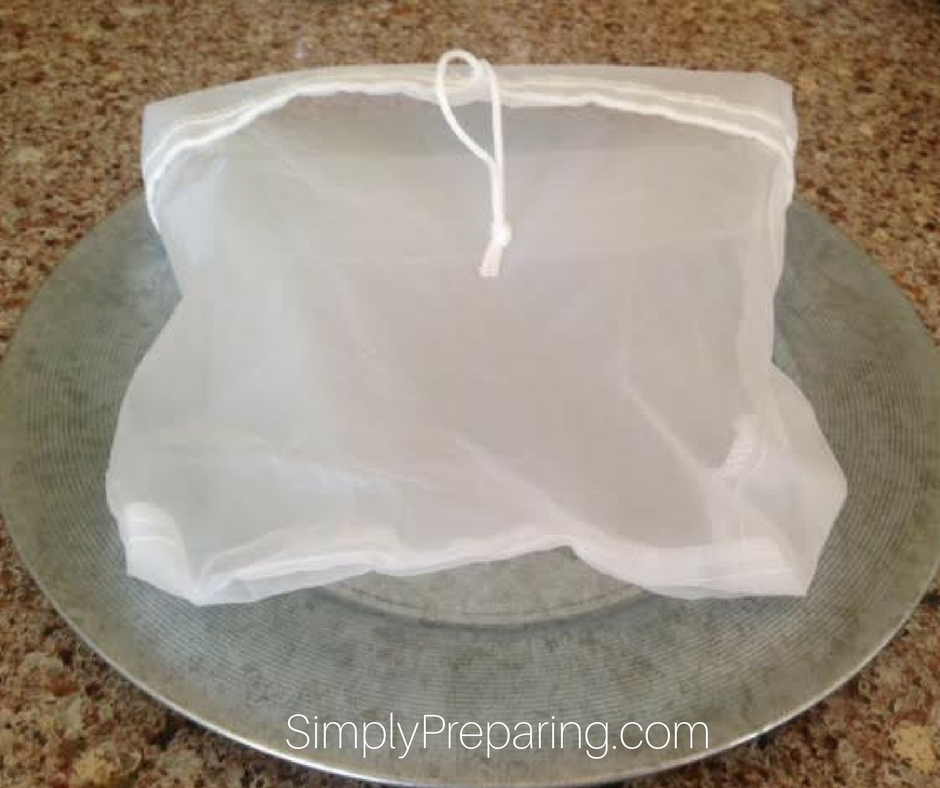
Straining Your Nut Milk

Strain your nut milk with a *this post contains affiliate links nut milk bag or cheese cloth.  I prefer a nut milk bag as I can toss it into the washing machine and reuse it for years.

If you are making cashew or pistachio milks, you won’t even need to strain them.  These milks can blend until completely smooth.

Sweeten Your Nut Milk

Another great thing about making your own nut milk is that you can choose your own sweetener, or leave it plain.  I love to use crushed vanilla beans, vanilla bean paste, dates, vanilla powder, raw honey, maple syrup, and brown rice syrup.

Equipment and nuts for making homemade nut butter.

Nut To Water Ratio for Homemade Nut Milk

Because you are making your own, you can choose how rich you would like your nut milk to be.  If you are making smoothies, wanting less calories or wanting to stretch your dollar use less nuts and more water.  If you are using your milk for coffee or ice cream, use less water and more milk.

Homemade Nut Milk Recipe

I use this recipe for almond, hazelnut, cashew, pistachio, and walnut milk.

1 Cup nuts of choice
4 Cups water

Drain and rinse the nuts you have been soaking.  Place well rinsed nuts into a high speed blender with 4 cups of water.  Blend them until they create a creamy milk.  I have a Vitamix and I go for about 2 minutes.  If you have a less powerful blender, you’ll need to blend longer.

Over a bowl, or large 8 cup Pyrex measuring cup, strain the contents of the blender through a nut milk bag or cheese cloth.  Also,  you could even use a leg from an old (but clean) pair of nylon stockings.  Then, using your hands, squeeze out as much liquid as you can.

Return the liquid (milk) back to your blender after having rinsed the blender clean.  Finally, add the sweetner of your choice, blend again until combined.

Pro Tip: Want to take your nut milk recipe to a higher standard?  I love Melissa King’s book DIY Nut Milks, Nut Butters and More:  From Almonds to Walnuts.   Melissa shares yummy recipes that can’t be found anywhere else!  Check it out.  I think you’ll enjoy it as much as I have.

What To Do With The Nut Pulp?

Take the nut pulp left in your milk bag and use it to make homemade hummus, dips or nut cheese.  You can spread out the nut pulp onto a parchment lined baking sheet and dry it in a 222 degree oven for 2 hours or until completely dry.  Use the dried nut pulp in oatmeal, granola or in baking.  Or, you can freeze the nut pulp for later use.

What do you make rather than buy from the grocery store to save money?   Have you even made homemade nut milk?

Filed Under: cooking tutorial, Food Storage Tagged With: cheese biscuit recipe, Food Saver, food storage, mason jars, prepping on a budget, save money, vitamix

About ParkerMama

Tammy is a mom to 6 wonderful kids, including Parker, who came with an extra chromosome! She is passionate about special needs advocacy, living within her means, and preparing for an uncertain future. Tammy's main blog is Praying For Parker. Make sure to visit her there as well!

Primary Sidebar

Why Worry About Preparing?

Preparedness makes more sense now than ever.

As we move through 2026, it’s clear that the world is shifting in ways many of us can feel — even if we can’t always predict what’s next. In recent years we’ve seen global supply chain disruptions, international conflicts affecting energy and food markets, extreme weather events across multiple continents, cyberattacks on critical infrastructure, economic uncertainty, inflation, and rising costs for everyday essentials.

From global pandemics to geopolitical tensions and natural disasters happening around the world, the message is the same: stability isn’t guaranteed.

Whether or not you believe we’re headed toward a major global reset, there are plenty of everyday realities that make preparedness practical — not extreme. Job loss. Health emergencies. Severe storms. Power outages. Supply shortages. Economic downturns.

Preparedness isn’t about panic.

It’s about positioning your family to respond calmly when life throws the unexpected your way.

We’ve found that the more intentional emergency planning my family does, the less I worry about the big “what ifs.” When you have food storage in place, backup plans for power and water, and practical skills to lean on, uncertainty feels manageable.

That peace of mind is powerful.

Here at Simply Preparing, we share the survival tips, preparedness strategies, and practical systems we’ve learned along the way — from pantry building and food storage to emergency planning and self-reliance skills. Our goal is not to create fear, but to create confidence.

And we hope you’ll join the conversation.

Preparedness is not a solo journey. We all bring different experiences, lessons, and perspectives to the table. Share what you’ve learned. Ask questions. Leave comments. We grow stronger and smarter together.

Now, let’s get started prepping.

Pick a post and begin reading. At the end of every article, the blog will randomly suggest three additional preparedness posts to explore. Set aside just 10 minutes a day to build your knowledge base. Small, consistent steps add up faster than you think.

Because when it comes to preparedness, we’re never truly “done” learning — and we’re never wrong for being ready.

Let’s prepare wisely.

Affiliate Disclosure

We are a participant in the Amazon Services LLC Associates Program, which means we may earn a small commission if you make a purchase—at no additional cost to you. We only recommend products we personally trust and believe are worth having as part of a simple, practical preparedness plan.

Privacy Policy and Cookies

This site uses cookies. Please read our Privacy Policy so you fully understand how we use them.

Copyright © 2025 Indigo Ink, LLC: Simply Preparing Disaster and Emergency Preparedness · WordPress · Log in